
Here's the finished mockup, with the lame in the lower position.
You can barely see them, but there are some white thumbtacks taped in (points out!) to serve as rivets for the moving lame.
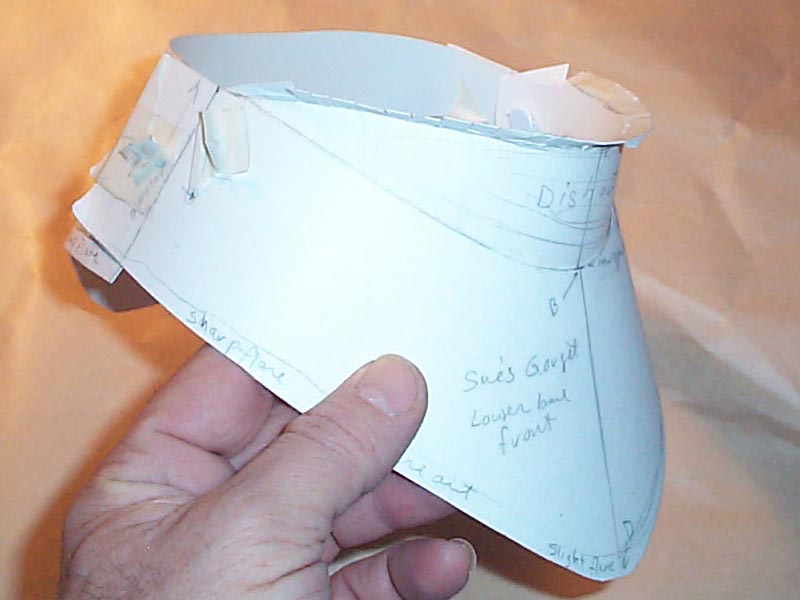
Another view, with the lame raised.
I wrote a few notes on the outside.

Inside view, showing how I snipped short cuts in the lower edge of the lame every 1/4 inch or so, to simulate a flared edge. The masking tape keeps the tabs flared out.
Once I got a working model, I took it apart and made new patterns pieces out of blue posterboard. I make all of my final pattern in blue, so as to distinguish them from the work-in-progress patterns. When I traced the pieces onto the blue posterboard, I flipped the mockup pieces over and retraced them in the same places so that I could make sure they were symmetrical.

I'm using 18 gauge mild steel.
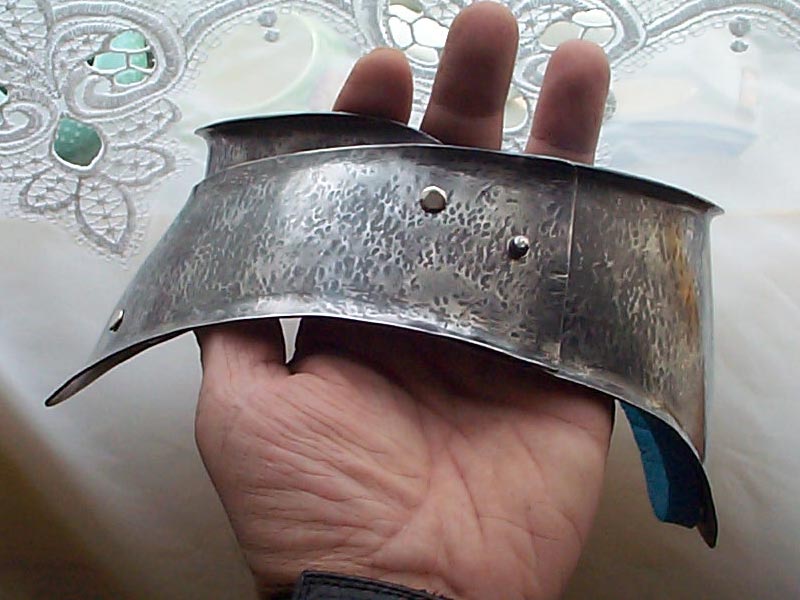
(fast forward into the future, to find a) Finished gorget
The front piece snaps on outside the back piece. Here the lame is not quite at it's lowest position.
No, I didn't lose a pinky finger.
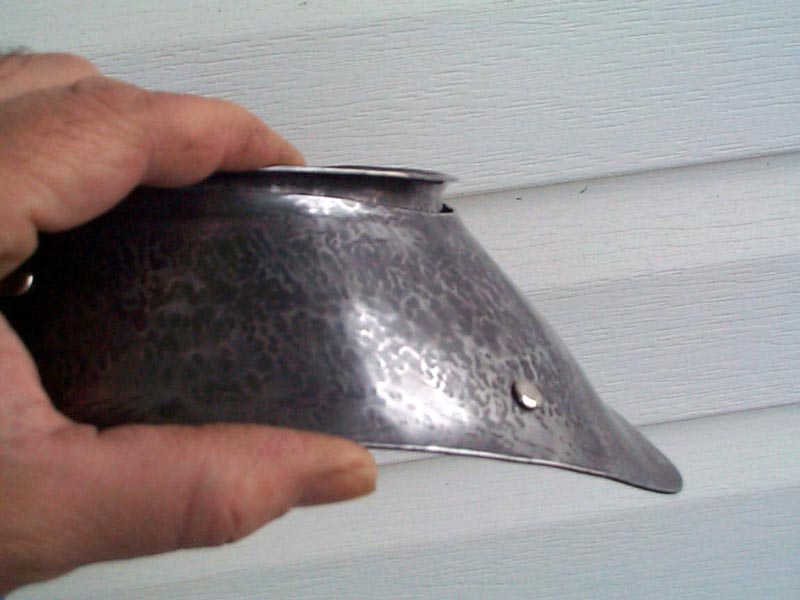
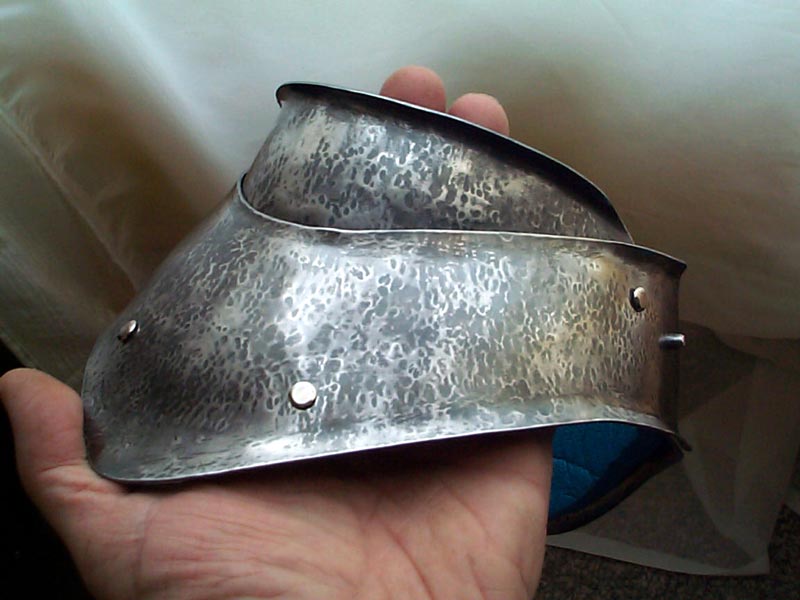
Here the lame is at it's maximum height.
Inside the left side of the back piece.
I used a sort of spring-pin fastening again for this, as suggested by the original pattern. This pin (or stud) goes on the back half and snaps into the holes on the front half. The rigidity of the main front and back pieces (partly due to the flared edges) keeps them in place. You can, however, pop it open by squeezing the bottoms of the front and back together. Fine for rapier, but I would not trust it for rattan combat unless there was a sneck hook or something to secure it better.
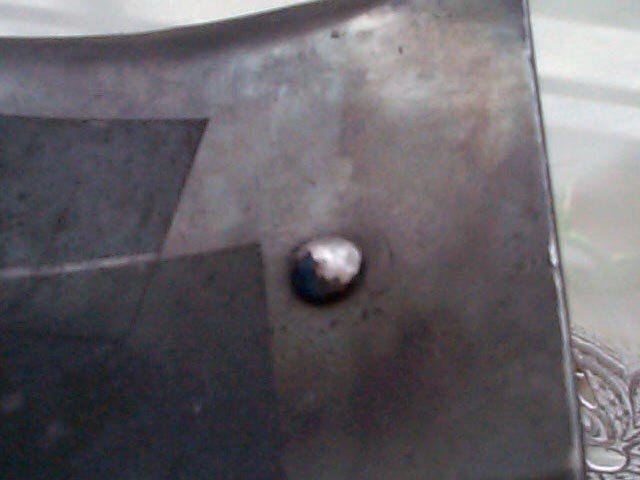
For my own unarticulated gorget I used a clipped shingle nail with the head inside, and tried to peen it so that the shank expanded to fit tightly against the hole. Unfortunately, I didn't quite get it tight enough, so while the rivet does not fall out, it does move around a bit. For Síobhan's gorget, I took the time to file a "shoulder" on one end of a short bit of a large nail, to make a small head to go into a punched that is smaller than the shank of the rivet, and peened it on the inside. The mushroomed inner end of the rivet (shown here) is about as wide in diameter as the outer end of the rivet. It looks and functions much better than mine does.
The darker areas to the left is just the double-sided adhesive tape that I used to keep the blue foam padding in place.
There is one problem with this type of spring-pin fastening, which is that if the wearer has long hair and wears a hood outside the gorget (instead of under it) then it has a tendency to catch the hair between the front and back pieces of the gorget when you are putting it on or taking it off. A bit painful if you're not careful.

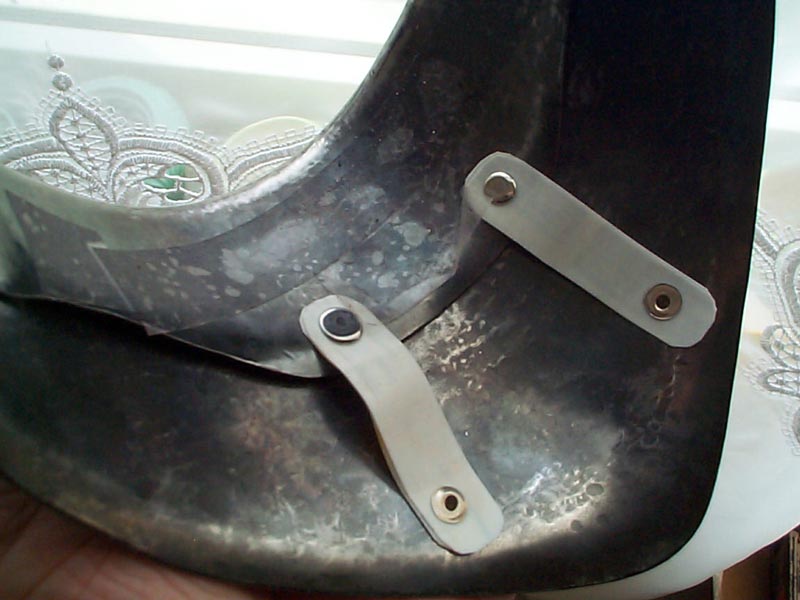

The articulation of the lame.
Most shell-articulated armour depends on the flexing of a joint such as the elbow or knee to move through the range of motion. So do most compression articulations such as on sabatons (foot armour) or some gorgets that are attached to helms. In this case, once the lame has dropped (by moving your chin down), there is nothing to pull it back up again, and so it would just sit there, leaving your upper throat exposed. What you need is some sort of spring mechanism that would push it back up. Eric Shippesinker's had (I think) two springy flat strips of plastic that would flex when you tilt your head forward, and straighten out again when you tilt it back up.
I had some difficulty in deciding what to use for the spring material. Period gorgets all seem to use leather strips, but I speculated that they would soon lose their springiness, especially if they got damp from perspiration. Also, most gorgets that I've seen worn for SCA rattan combat do not appear to come up on the neck very high in the first place. If I was a rattan marshal (which I am not), I would not pass most of them unless they were worn with a camail.
I ended up using two layers of plastic cut from a Becel margarine tub. One layer wasn't quite strong enough. As it is, there's still a bit of hesitation before it pops up again. I think part of the problem is due to the fact that the two sides of the articulation are not quite parallel, because the sides slope outward a bit. Even so, when it's worn, the blue foam padding (not shown here) tends to rub against the front of the throat as you raise your chin, so it pops up quite readily.
Yes, I totally cheated on the lame's pivot rivet. I used two-part "rapid rivets". When I installed it I slid a thin plastic shim with a slot in it, in between the lame and the main front piece. After hammering down the rivet heat, I pulled out the shim. This guaranteed a bit of a loose fit.
I would not trust a rapid rivet if this was for rattan combat, and certainly not for knee or elbow shell articulations.
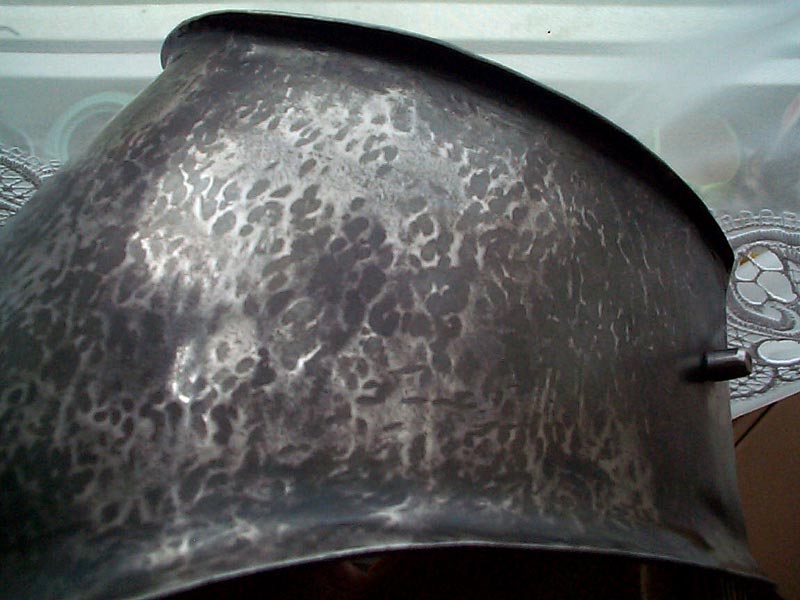
I'm trying a type of finish that I discovered sort of by accident. It involves planishing the pieces all over, even where they're already smooth.Small round dents are okay, but make sure yout get rid of the big dents. Then you heat it with a propane torch until the entire surface is black. Next you lightly sand it with a fine (#600 grit) sandpaper, maybe followed #1000 grit. Finish off with a quick polishing using a buffing wheel and your favorite compound.Apply a top coat of whatever barrier material you favour, such as carnauba paste wax (I used "Trewax") or TurtleWax, whatever.
What you end up with is a fine random lacy network of bright lines surrounding small patches of dark oxidised steel. The heat-blackened surface is a controlled kind of oxidation and should not turn to red rust. The silvery parts are highly polished, and this makes it easy to wipe of and presents a minimum of exposed surface area. Síobhan likes the dark and distressed appearance.
So far it hasn't rusted. If it does, then it should be easy to refinish. I experimented with this last Spring on a piece of scrap steel. It got lost in my basement workshop (not the driest of environments) and I found recently (January). It may not have been the "proper" way to blacken it, but it seemed to have very little rust, especially when compared to other untreated scraps that I found in the same vicinity. I didn't want to smell up the house by quenching it in oil, and using the propane torch would probably give me very uneven temperatures throughout the pieces anyway.